基于Arduino UNO的智能温控系统设计与实现
创作时间:
作者:
@小白创作中心
基于Arduino UNO的智能温控系统设计与实现
引用
CSDN
1.
https://blog.csdn.net/mftang/article/details/136140915
本文将详细介绍如何使用Arduino UNO设计一个智能温控系统。该系统能够实时监测环境温度,并根据设定的门限值自动控制风扇的启停。通过本文,你将学习到硬件连接、软件编程以及系统测试的完整流程。
概述
本文介绍如何使用Arduino UNO作为主控制板,设计一个智能温控系统,其实现功能如下:当环境温度达到一定的门限值时,开始风扇,当环境温度低于该门限值则关闭风扇。系统使用DS18B20采集环境温度,L298N驱动电机,OLED显示当前环境温度。软件设计上使用Arduino自带的定时器中断功能,用于控制时间间隔。还使用了PWM技术,以控制电机的转速。
硬件结构
整体硬件介绍
- Arduino UNO: 主控板卡
- 控制L298N:用于控制电机系统
- 控制OLED模块:用于显示当前温度数据
- 控制DS18B20:获取环境温度数据
- 直流电机:驱动扇叶
硬件连接结构
模块引脚与Arduino UNO主板之间关系:
Arduino UNO IO | 应用模块IO | 注释 |
|---|---|---|
PIN-2 | DS18B20 DQ | |
PIN-5 | L298N in-1 | 用于电机控制 |
PIN-6 | L298N in-2 | 用于电机控制 |
SCL | OLED-scl | |
SDA | OLED-sda |
软件设计
软件功能介绍
软件主要实现功能如下:
- 控制DS18B20,读取该传感器采集到的温度值
- 在OLED显示温度数据
- 通过串口打印调试信息
- 根据门限值,控制电机转速(PWM)
关于Arduino的一些知识点
定时器
在Arduino中使用定时器,必须要包含该头文件 <MsTimer2.h>,然后调用如下函数启动定时器,并且还要实现一个中断回调函数。
void startTime()
{
   // 中断设置函数,每 500ms 进入一次中断
    MsTimer2::set(500, timer_irq);
    //开始计时
    MsTimer2::start();
}
//回调函数
void timer_irq()
{
}
PWM
在Arduino UNO板卡中使用PWM功能,其能使用的引脚为pin( 3, 5, 6, 9, 10, 11),使用方法如下:
- 配置端口为模拟引脚
- 使用
analogWrite( pin, cycle )函数来配置占空比参数含义如下:
- pin - 引脚号;
- cycle - 占空比(范围: 0 ~ 255 )
一个使用案例:
//for motor port
const int output1 = 5;
const int output2 = 6;
// 初始化IO
void setup()
{
   pinMode(output1, OUTPUT);
   pinMode(output2, OUTPUT);
}
// 配置占空比
void pwmCycle()
{
   analogWrite(output1, 150);
   analogWrite(output2, 0);
}
代码实现
详细代码
/*
Copyright 2024-2029. All rights reserved.
文件名 : motorCtrl
作者 : tangmingfei2013@126.com
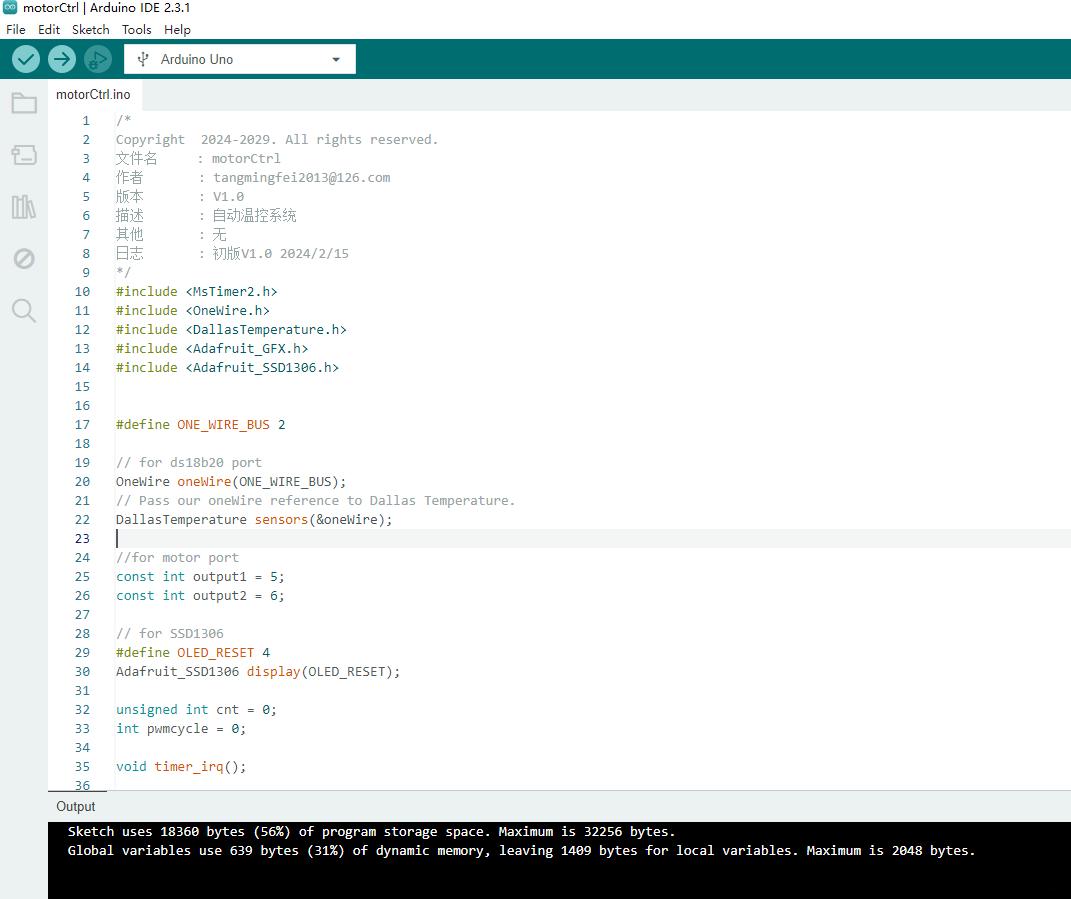
版本 : V1.0
描述 : 自动温控系统
其他 : 无
日志 : 初版V1.0 2024/2/15
*/
#include <MsTimer2.h>
#include <OneWire.h>
#include <DallasTemperature.h>
#include <Adafruit_GFX.h>
#include <Adafruit_SSD1306.h>
#define ONE_WIRE_BUS 2
// for ds18b20 port
OneWire oneWire(ONE_WIRE_BUS);
// Pass our oneWire reference to Dallas Temperature.
DallasTemperature sensors(&oneWire);
//for motor port
const int output1 = 5;
const int output2 = 6;
// for SSD1306
#define OLED_RESET 4
Adafruit_SSD1306 display(OLED_RESET);
unsigned int cnt = 0;
int pwmcycle = 0;
void timer_irq();
void setup() {
Serial.begin(9600);
// put your setup code here, to run once:
pinMode(output1, OUTPUT);
pinMode(output2, OUTPUT);
analogWrite(output1, 0);
analogWrite(output2, 0);
// by default, we'll generate the high voltage from the 3.3v line internally! (neat!)
display.begin(SSD1306_SWITCHCAPVCC, 0x3C); // initialize with the I2C addr 0x3C (for the 128x32)
display.display();
// Show the display buffer on the hardware.
// NOTE: You _must_ call display after making any drawing commands
// to make them visible on the display hardware!
display.clearDisplay();
// 中断设置函数,每 500ms 进入一次中断
MsTimer2::set(500, timer_irq);
//开始计时
MsTimer2::start();
}
void loop() {
int tempPwmCycle = 0;
// put your main code here, to run repeatedly:
if( cnt%2 == 0 )
{
sensors.requestTemperatures(); // 发送命令获取温度
if( cnt%3 == 0 )
{
display.clearDisplay();
Serial.print("Temperature for the device 1 (index 0) is: ");
Serial.println(sensors.getTempCByIndex(0));
display.setTextSize(1);
display.setCursor(0,0); // Start at top-left corner
display.println(F("Current temp: "));
display.setTextSize(2); // Normal 1:1 pixel scale
display.setTextColor(SSD1306_WHITE); // Draw white text
display.setCursor(25,15); // Start at top-left corner
display.println(sensors.getTempCByIndex(0));
display.display();
}
}
if( sensors.getTempCByIndex(0) >= 20 )
{
tempPwmCycle = 100;
}
else
{
tempPwmCycle = 0;
}
if( pwmcycle != tempPwmCycle )
{
pwmcycle = tempPwmCycle;
analogWrite(output1, pwmcycle);
analogWrite(output2, 0);
}
}
void timer_irq()
{
cnt++;
}
测试
温度数据监控
采集和打印温度数据信息:
温控测试
温度值 Value > 20 ℃ ,开启风扇
热门推荐
英国留学生活指南:从文化适应到学习技巧全方位实用建议
细胞培养需注意哪些环境因素和营养条件呢?
宝山:漫步滨江,品味人文风情与自然魅力
贷记卡和准贷记卡的区别:免息期、存款利息与取现费用详解
广州老年人陪伴式消费报告:老年人为何为它们买单?
中原茶文化的代表:信阳毛尖
买电动车该怎么选?电动自行车、电轻摩、电摩,哪种更有性价比?
吃什么对肝脏好?护肝10大必吃食物
身边事|云阳:多举措保护野生动物 让“珍稀”更被“珍惜”
新余市:江西中部的明珠
优质客户服务的定义与实现路径探索
如何选择适合自己的洗车液?
FUE与FUT植发:一探究竟,区别何在?
预计回本的计算方式是怎样的?这种计算方式的可靠性如何?
如何准确计算物品的实际价值?这种实际价值的计算方法有何依据?
jpeg格式:全面解析与应用指南
家庭用油段位图:凉拌/爆炒/烘焙对应油种,用错毁一锅菜!
“咸海区域生态环境综合科学考察”在塔什干启动
椰子油护肤全攻略:10大护肤技巧与使用注意事项
香港记账报税指南:从基础到深入的全面解析
985大学有哪些学校?一文带你了解全部!
乳化技术:从原理到家庭实践应用探索
皇家马德里首个赛季进球效率排名:C罗居首,姆巴佩崭露头角
膜技术手册(上册)(第二版)
汽车行业面临的环保压力与对策:绿色转型势在必行
永久脱毛间隔期可以自己剃毛吗?
6种高性能耐腐蚀材料
矿用接链环耐腐蚀技术新突破!三大方向破解行业难题
变压器油使用须知:型号、作用及技术指标全面解析
韦伯试验:一种重要的听力学检查手段